Unity Sangam – How to Register Guide
In this blog, we will guide you through the process of registering as an IT company on UnitySangam step by step.
Step 1: Click “Join Now”
First, click on the “Join Now” button on the homepage.

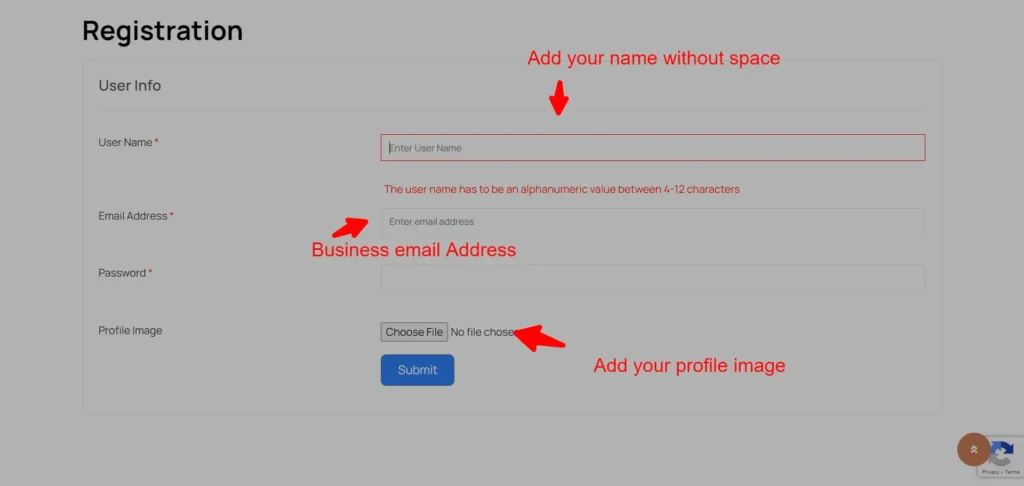
Step 2: Complete the Registration Form
You will be redirected to the registration page. Fill in your details and submit the form.
Step 3: Access Your Dashboard
After successfully registering, you can access your account dashboard. This is where you will list your business.
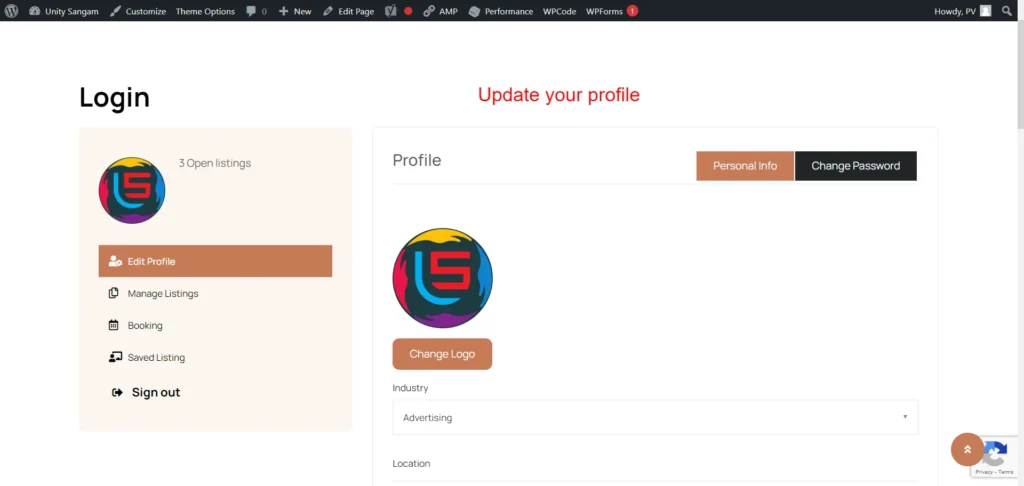
Step 4: Update Your Profile
First, update your profile with accurate and detailed information.
Step 5: Manage Your Listing
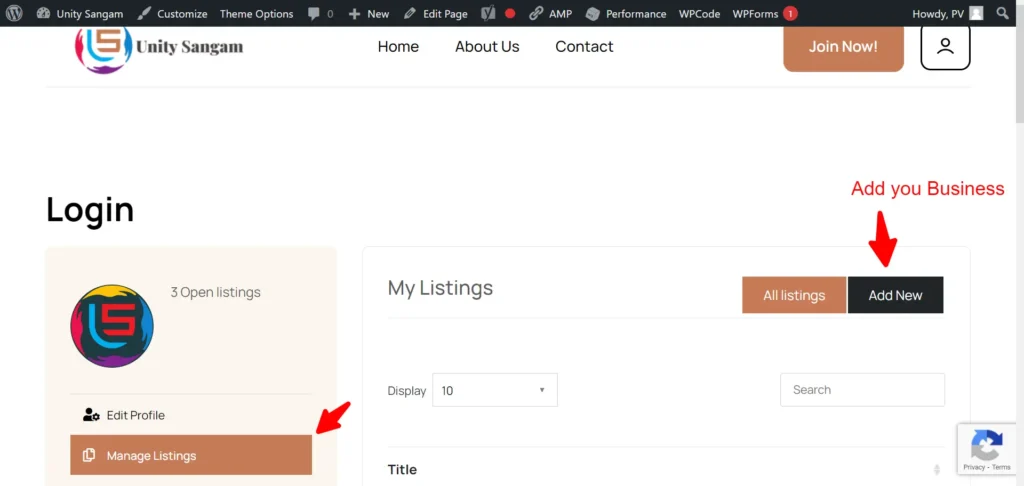
Go to “Manage Listing” to add your business.
Step 6: Add Company Details
Title and Logo: Add the title of your company and upload your logo.
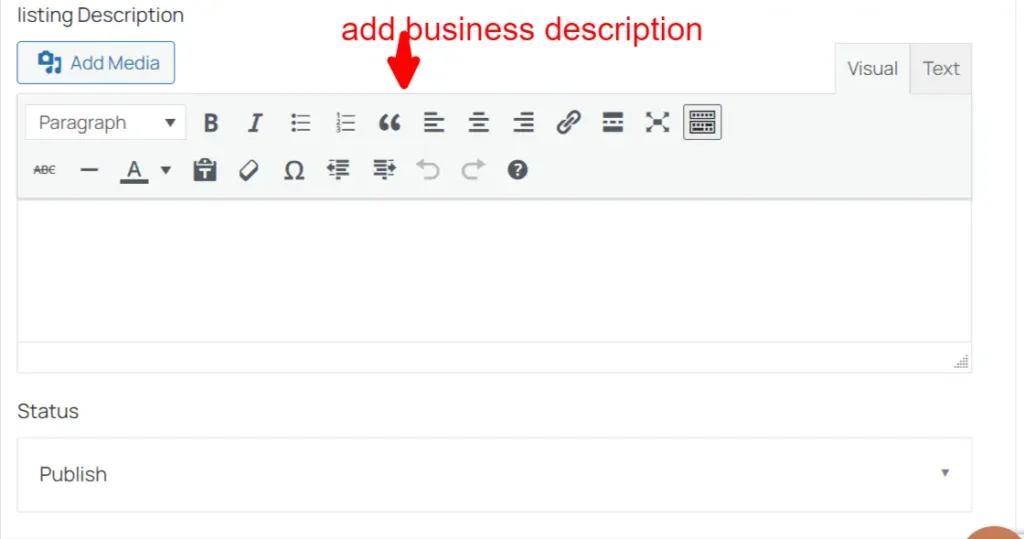
Business Description: Write a comprehensive description of your company.
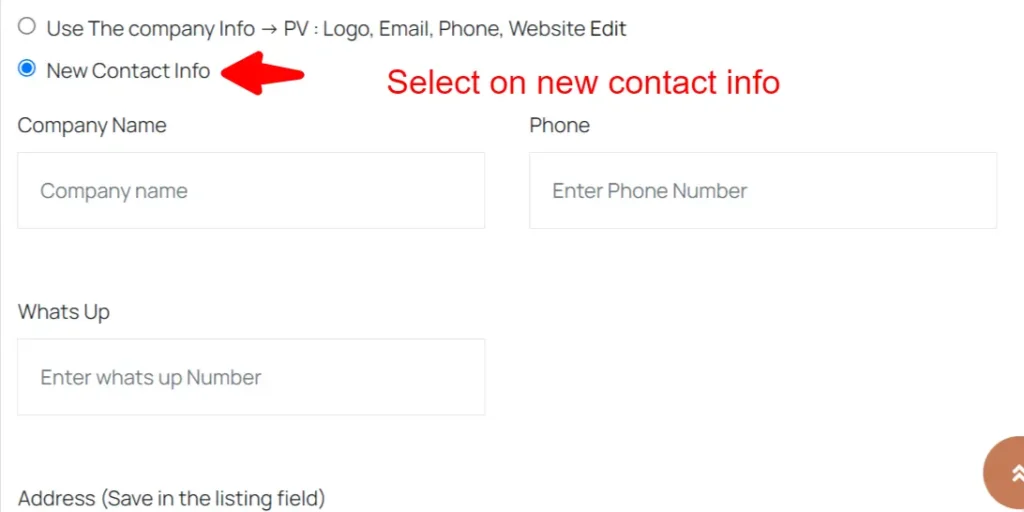
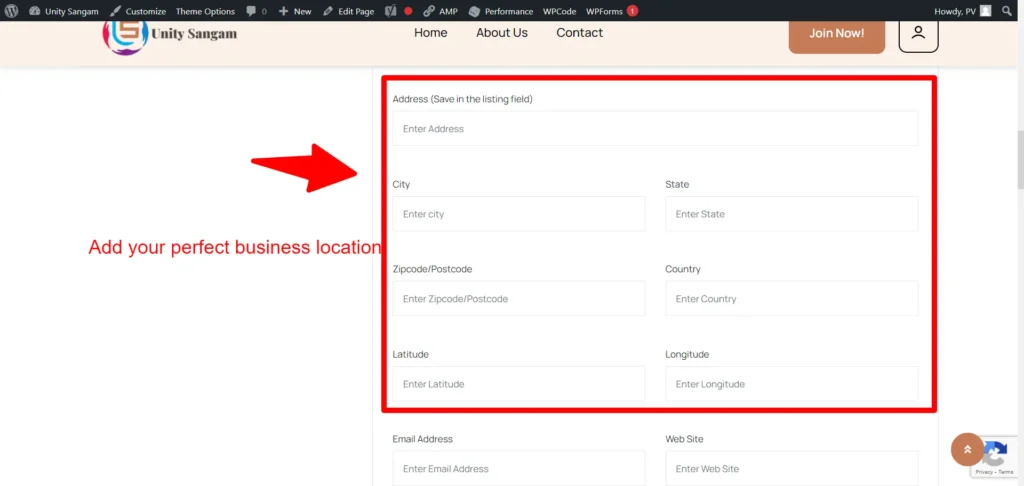
Address: Provide your correct business address.
Categories: Select the appropriate categories for your business.

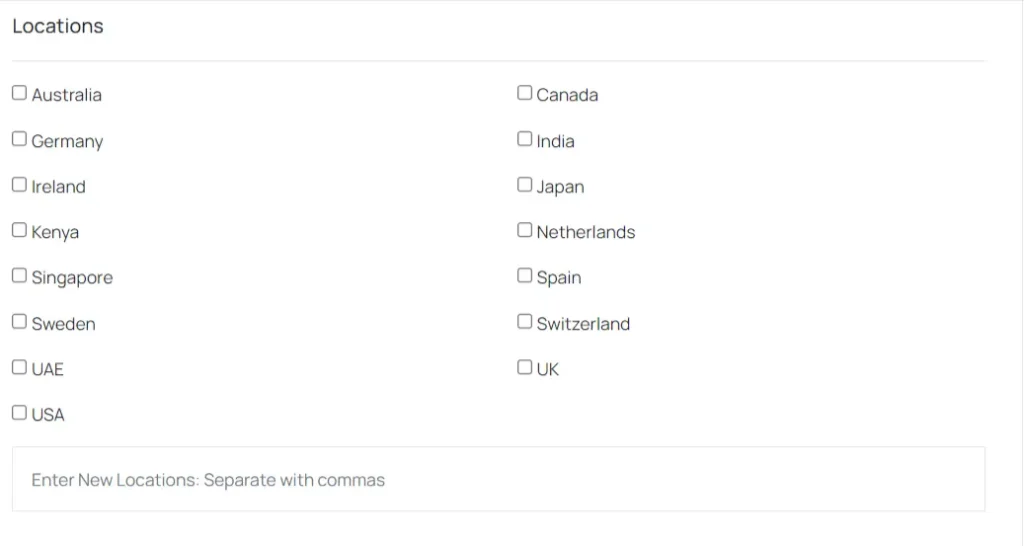
Location: Choose your business location.
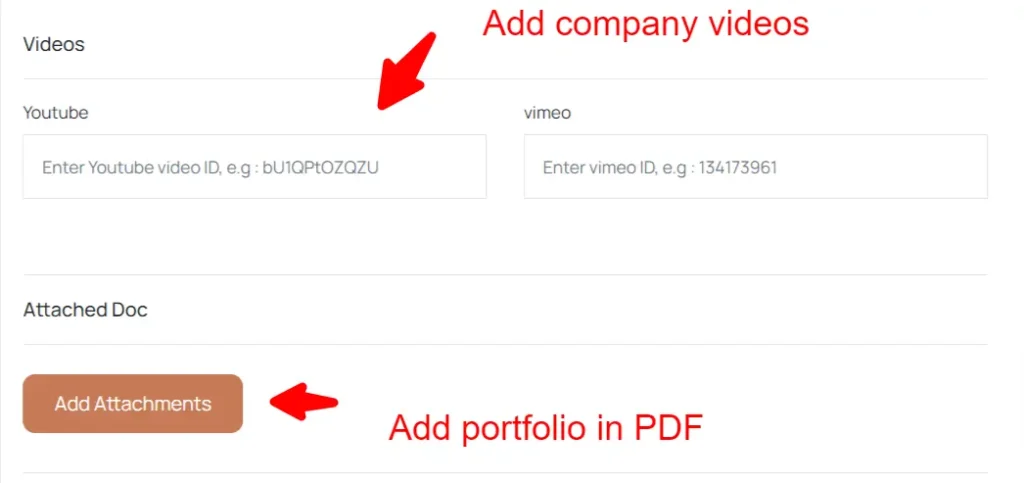
Media: Add a video and documents to showcase your services, leadership, Founder message or team video.

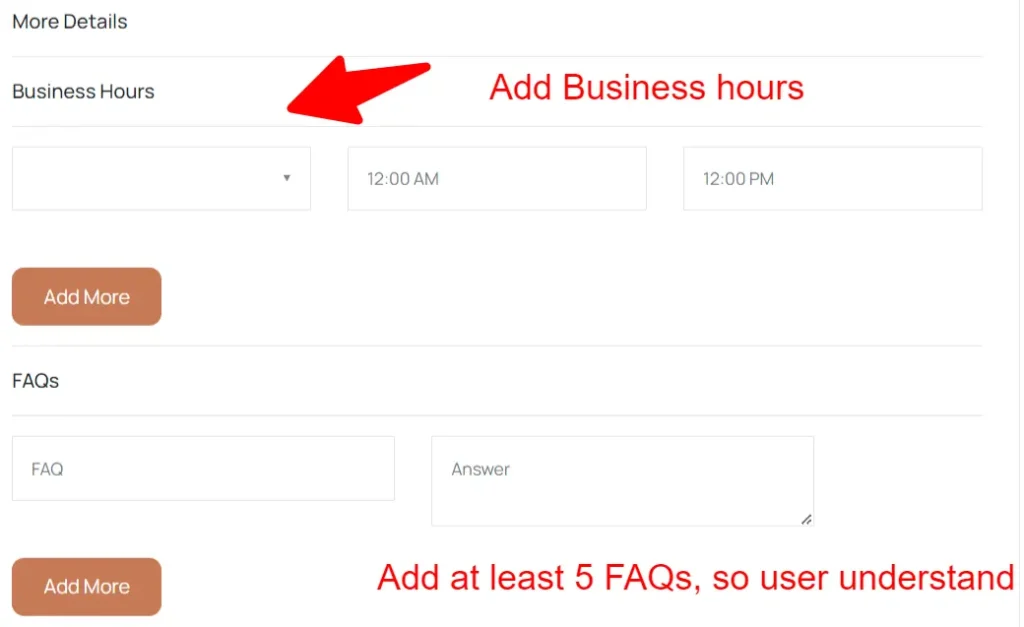
Business Hours and FAQs: Include your business hours and frequently asked questions.
Social Media Links: Add links to your social media accounts.
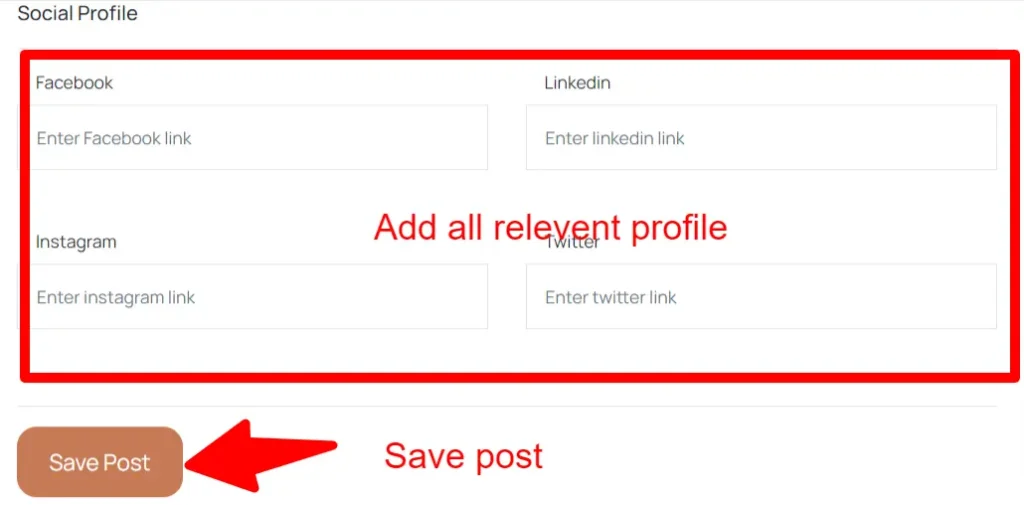
Step 7: Save and Review
Save your listing. It will take up to 24 hours for the review process.
Step 8: Check Listing Status
You can check the status of your listing in the “Managed Listings” section.
Step 9: Live Listing and Inquiries
Once your listing is live, you will receive the link. Users can make inquiries through the booking form on your listing.
Step 10: Booking Section
If someone fills out the inquiry form, you will see it in the “Booking” section.

Need More Help?
For further assistance, contact us via email or through our contact page.

